
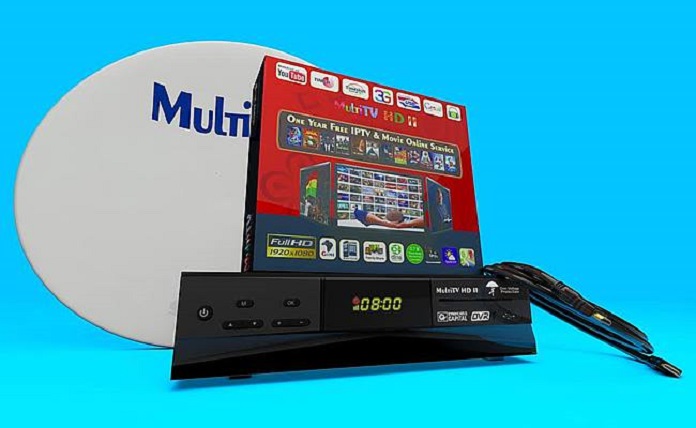
Multi TV is a privately-owned satellite television platform stationed in Ghana with a presence in more than 26 countries. It has over 20 TV and radio stations with a range of sports, entertainment, news, and education options. For viewers to have excellent access to its service, it is vital that the Multi TV dish’s installation and the accompanying decoder, whichever kind it is, is done correctly. Some choose to engage the service of professionals, but most prefer to do the installation themselves. This article aims to educate the latter group on the correct installation procedure.
How to do a Proper Installation of a Multi TV Dish
Before beginning the step-by-step installation process, one thing you must do is ensure the dish is facing east to face Multi TV satellite. The dish must be positioned similarly to match it and ensure you get an excellent signal. Below is the step-by-step process to ensuring a proper Multi TV installation:
- The dish comes with a dish manual. The dish comes with a round plate, dish accessories, an LNB and its holder, a stand, and a dish cap.
- Assemble the dish using the manual, then carefully attach the LNB into its holder at the last end of the angle bar.
- Choose the rear end of a wall that you find suitable. Then proceed to mount the stand with the four holes at that same rear end. DO NOT bend the stand or twist it in the wrong direction. Therefore, hold the stand firmly with your hand, then access if the dish is adequately fixed enough for it to track signal while facing the east. If so, you can now proceed to mount the stand on the wall.
- Ensure to use concrete nails for the wall and regular nails for the facial board.
- Mount the dish in a place with zero signal-blocking obstacles, e.g., tall buildings, electric cables, or planted trees.
- Tighten the dish partially to allow for movement and adjustment. Do this as you may need to move the dish vertically or horizontally until the signal is received.
- Use the connectors to connect your coaxial cables from the dish with the receiver.
- Connect into the receiver’s LNB input.
- Turn the receiver on.
As long as you follow the processes above, abide by the Do’s and Don’ts, you should be successful with the dish installation. Once you are done, it is time to set up the accompanying decoder.
Step-By-Step Guide to Setting Up Multi TV Decoders
Multi TV has numerous decoders, and they are all set up differently. Different decoders require different setup processes. Each decoder’s setup process is explained below. Identify your type of decoder and follow the setup processes diligently to ensure you get a positive result.
Syndicated Box Decoder
- Select Menu
- Go to Installation and press OK
- Select Manual Search and press OK once again
- Press the green button on your remote to edit the frequency
- Choose Modify
- Select OK
- Input the number – 12522 and press OK
- Select Polarization
- Click on the right button beside OK to change to vertical
- Press OK
- Select a symbol rate of 27000
- Press the blue button on the remote to save, then exit to resume scanning
- Move the channel down button to start the search
- Press OK to start searching
- Press exit
StrongBox Decoder
- Select Menu
- Press the right volume button
- Enter 0000 as the password
- Select Manual Scan and press OK
- Press the red button on your remote to select transponder ASTRA 3A/3B
- Press the green button to add the TP list
- Enter the frequency as 12522
- Enter 27000 as the symbol rate
- Change the polarization to either V or H to get the bar to change to green
- Press OK to begin scanning
- Press exit
Somotex Ash Box Decoder
- Select Menu
- Select Installation
- Press the red button on the remote to edit
- Input 12522 as the frequency and press OK
- Enter 27000 as the symbol rate
- Select polarization and change to either vertical or horizontal
- Save and press OK
- Press the blue button and OK to scan
- Press OK on Yes
- Exit to begin viewing channels
Quality Box Decoder
- Press Menu
- Scroll down to DVB-S and click OK
- Input 0000 and press OK
- Go to Dish Settings
- Press the yellow button on your remote to edit TP
- Input 27000 as the symbol rate
- Select Yes
- Go to service search and select OK
- Go to ‘start scan’ and press OK
StrongBox (SRT 4330) Decoder
- Tune in to a Multi TV channel
- Press Menu
- Click OK and input 0000
- Scroll to the transponder and select 28E ASTRA 2A/2B/2F
- Press the yellow button on the remote for edit options
- Enter 12522 for frequency
- Input 27000 as the symbol rate
- Press the red button to scan, then press OK
- Exit the menu and start watching
Multi TV HD LI/HD PLUS
- Press the menu on the remote
- Select installation and press OK
- Select manual search and press OK
- Scroll down and select frequency
- Enter a frequency number
- Select symbol rate and enter a number
- Go to polarization and change it to V
- Start the scan for channels
- Exit to view saved channels
CA Plus Series 2/SC 101 S2/Multi TV HD
- Select Installation from the menu
- Choose settings
- Enter 0000 as the password to gain access
- Choose frequency and enter the number
- Go to symbol rate and enter the number
- Change the polarity state to V
- Select Yes and press OK
- Go to service search and press OK
- Choose search mode
- Move from auto to manual
- Begin scan
- Exit
Digital Combo Decoder VI/Combo Decoder T2/S2
- Choose Installation from the menu
- Choose satellite up by scrolling
- Select manual search
- Choose frequency and input number
- Do the same for symbol rate
- Change Polarization to V
- Scan for channels
- Exit when done
QC-XPlus Series II/QC-XPlus Series IV/QC 001 CD CAS
- Go to installation
- Select DVB-S and press OK
- Input 0000 as the default password
- Select dish setting and press OK
- Select frequency and enter the number
- Do the same for the symbol rate
- Change the polarity to V
- Select Yes and OK
- Proceed to go to service search and press OK
- Highlight search mode
- Change from auto to manual
- Start search
- Press exit when done
- Select yes and OK to save
SC-007 CA/SC001 CA/SC007 CA Plus
- Go to installation
- Select manual search
- Select frequency and input frequency number
- Scroll to symbol rate and input symbol rate number
- Press the blue button on the remote control to save
- Go to start scan and press OK to scan
Somotex (MTV-1722)
- Select installation from the menu
- Go to manual scan
- Select frequency and input 12525
- Enter 30000 as the symbol rate
- Set the polarity to vertical
- Press the green button on the remote control to begin the channel search
- Press exit to begin watching
Somotex (MTV-9800J)
- Select Installation from the menu
- Scroll and choose satellite list
- Select ASTRA 2A, 2B, 2D on the satellite list
- Save by clicking exit
- Enter 12525 as the frequency number
- Enter 30000 as the symbol rate number
- Select vertical as the polarity
- Double click on OK to begin scanning
- Press OK to save these settings
SRT 4920/4922/4922A/4922D+
- Select installation and use 0000 as the password
- Go to the manual scan
- Press the red button and choose 28.2 ASTRA 1N/2A/2F
- Select frequency and enter 12525 as the frequency number
- Enter 30000 as the symbol rate number
- Change polarization to vertical
- Begin scanning for channels
- Press exit to begin viewing
SRT 4950/SRT 4950H/4950M
- Choose installation from the menu
- Go to manual scan and press OK
- Click on the SAT button and choose ASTRA 2 (28.2E)
- Press the red button and enter 12525 as the frequency number
- Enter 30000 as symbol rate number
- Change polarization to V
- Start scanning
- Press OK when it requests for network search
- Select OK when it asks to search only for FTA channels
- Press the exit button thrice